Pop-Up Events for Coffee Roasters: Tips
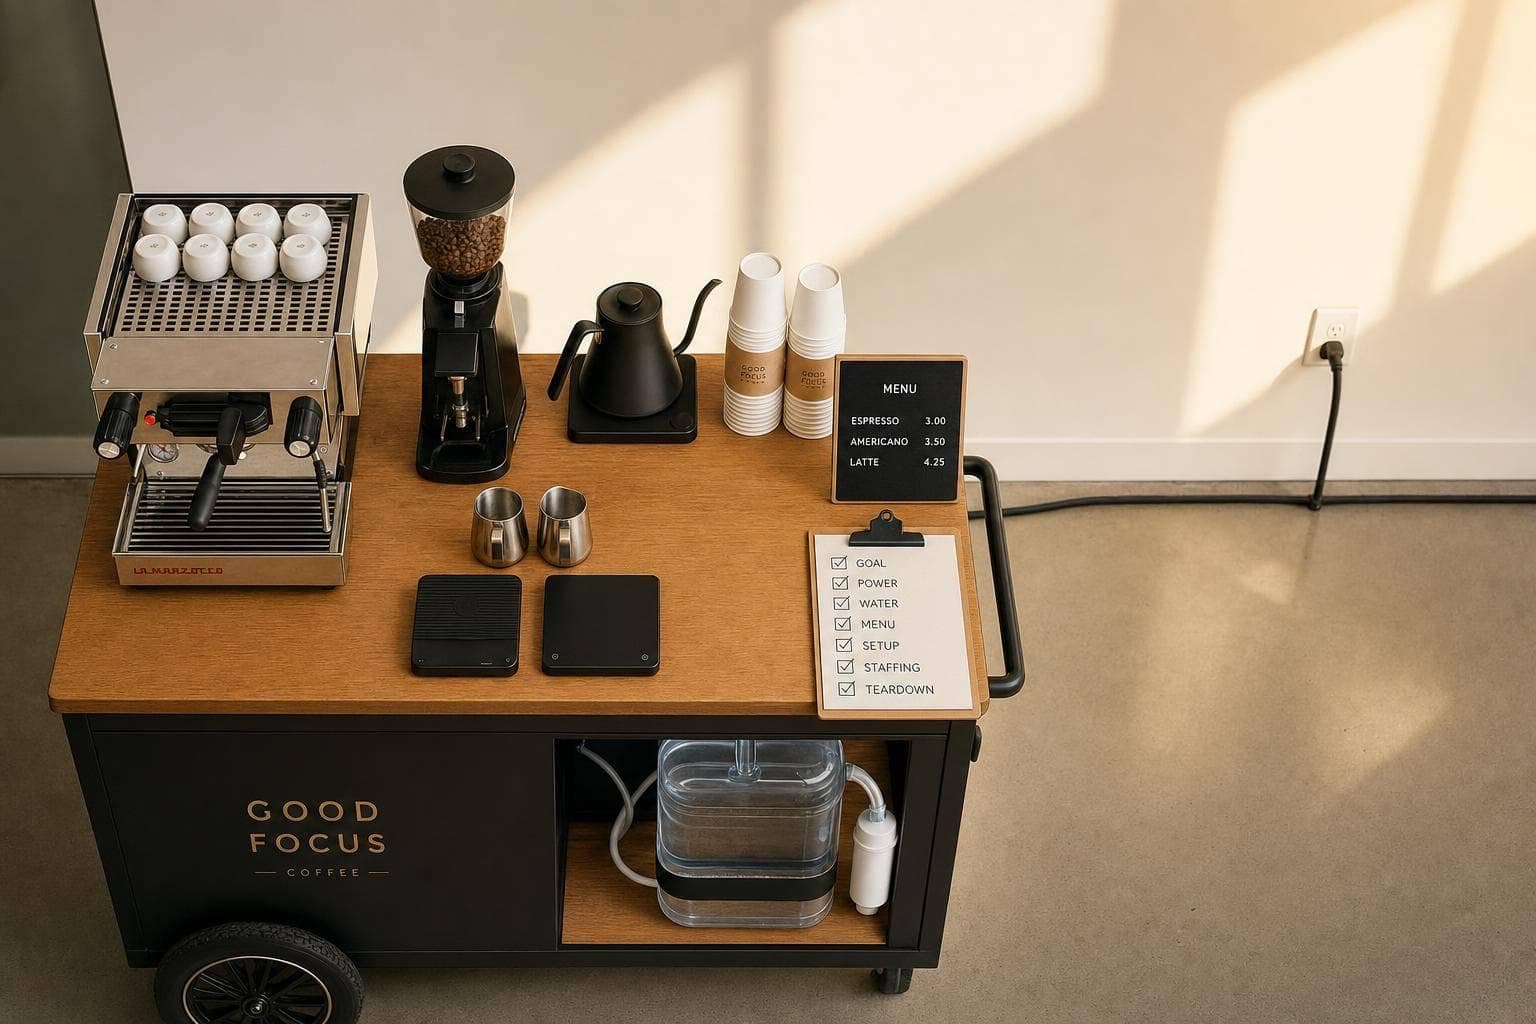
Pop-Up Events for Coffee Roasters: Tips
A coffee pop-up works when I keep four things simple: goal, site, menu, and setup. If I know what I want from the event, confirm power and water early, limit the menu to 3–5 drinks, and plan setup, staffing, and teardown in advance, I cut down on stress and give myself a better shot at sales, leads, or feedback.
Here’s the short version:
- I start with one goal: bag sales, wholesale leads, brand reach, or roast feedback.
- I choose a site that fits that goal and can handle power, water, access, and lines.
- I keep the bar small and tight with one cup size and a short drink list.
- I sort permits, insurance, and fees early. Booth fees can range from $50 to $500, and many venues ask for $1 million in liability coverage.
- I test the full bar before event day, then plan for about 60–120 minutes to arrive and set up.
- I staff for volume, with about 1–2 baristas per 100 guests at peak times.
- I work out host duties in writing so there’s no confusion on power, cleanup, promotion, or revenue split.
- I review the event after service and update my checklist for next time.
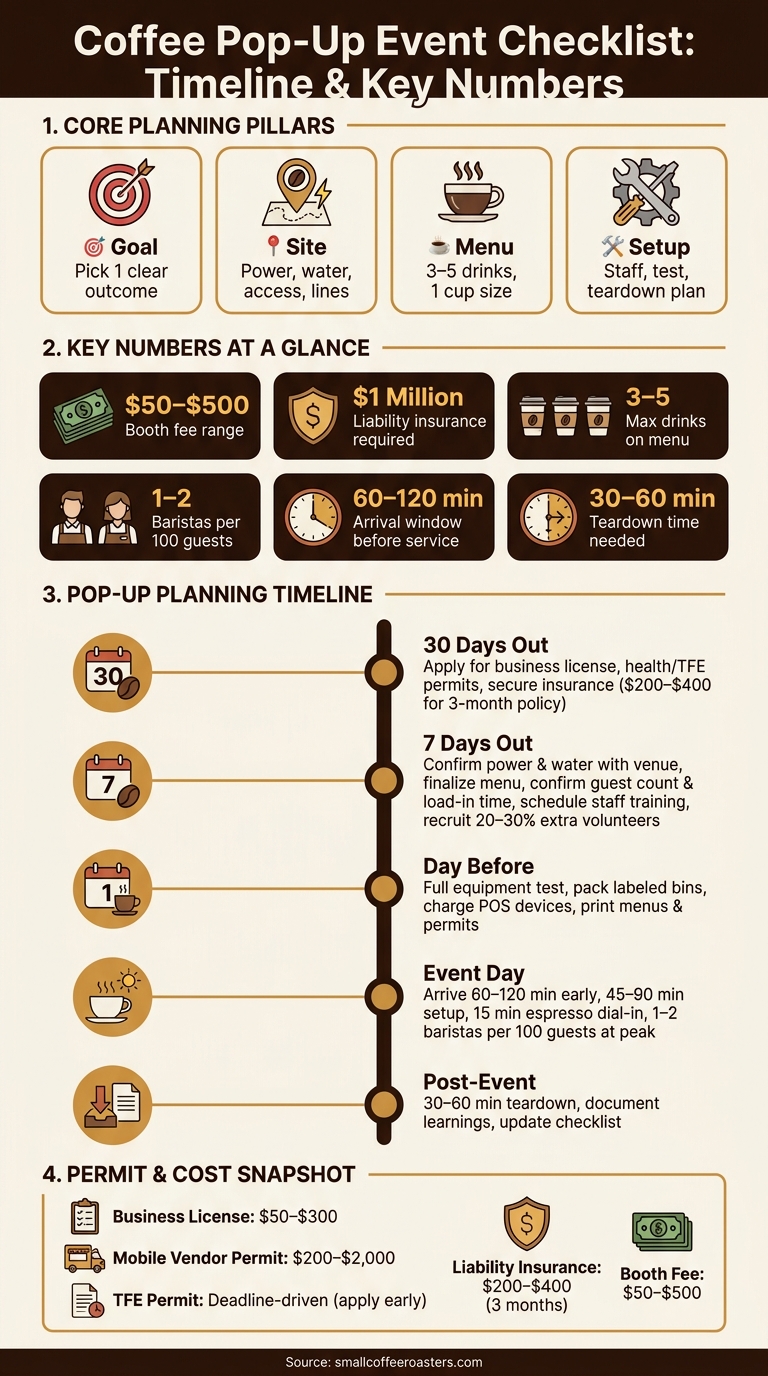
Coffee Pop-Up Event Checklist: Timeline & Key Numbers
Coffee Pop Up Tips and Tricks: How We Served 200 Cups in 90 Minutes
sbb-itb-af00fa5
Quick Comparison
| Area | What I focus on | Key numbers |
|---|---|---|
| Goal | Pick one clear outcome | 1 main goal |
| Menu | Keep drinks few and easy to make | 3–5 drinks |
| Fees | Review booth cost early | $50–$500 |
| Insurance | Confirm venue coverage needs | $1 million |
| Setup | Leave enough time before service | 60–120 minutes arrival |
| Staffing | Match labor to crowd size | 1–2 baristas per 100 guests |
| Teardown | Plan cleanup before leaving | 30–60 minutes |
If I treat the pop-up like a small service system - not just a fun event - I’m more likely to stay on time, keep the line moving, and learn something useful from the day.
1. Location checklist: pick a site that supports service
Once you've nailed down the format, the next step is simple: make sure the site can actually support service.
A spot can look great in photos and still fall apart in practice. If the line clogs the walkway or the power cuts out mid-rush, the setup won't work. So start with the basics first: traffic, utilities, and venue rules.
Check foot traffic, visibility, and audience fit
Start by asking one plain question: does this place already bring people in?
Farmers markets and outdoor festivals usually do. People are already there, already moving, and already in buying mode. A vacant storefront, on the other hand, often needs much more effort to pull people in.
Audience fit matters just as much as raw traffic. Specialty single-origin coffee may land well in an art gallery, but it may not be the best match for a high-volume street fair. That's why hyperlocal venues often work so well. You're not trying to convince the wrong crowd. You're showing up where your customers already spend time.
The table below lines up common venue types with service goals and event style.
| Location Type | Pros | Cons | Best Use Case |
|---|---|---|---|
| Farmers Markets | Built-in foot traffic; community-focused audience | Weather exposure; requires a full portable setup | Testing local brand awareness and retail bean sales |
| Breweries/Bars | Existing infrastructure; shared customer base | Limited morning foot traffic; strict load-out times | Morning takeovers or coffee cocktail collaborations |
| Retail Shops/Boutiques | Targeted demographics; climate-controlled; low overhead | Limited space; lower volume ceiling | Brand collaborations and signature drinks |
| Corporate Lobbies | High volume; professional crowd; indoor climate | Restricted access; requires speed and efficiency | Recurring weekday service |
| Outdoor Festivals | Massive visibility; high sales potential | High booth fees; complex logistics | Large-scale brand exposure and high-volume service |
Confirm power, water, load-in/load-out access, and venue rules
Before you commit, check the nuts and bolts.
Power comes first. Espresso machines pull more electricity during heat-up than they do once they're running steady, so don't stop at "yes, we have outlets." Ask what receptacle types are on-site and how much amperage is available. If the venue doesn't provide power, check whether generators or battery systems are allowed.
Water is just as important. If there's no direct water line, you'll need equipment with built-in reservoirs or an external water storage and filtration setup. Then there's gray water. Some local health departments require a commissary agreement for cleaning equipment and disposing of gray water between events, so confirm that piece early.
You'll also want to lock down setup and breakdown windows, parking for your vehicle, and whether the space can physically handle your cart or trailer. A site map or a few photos can save you a headache here. They let you check doors, turns, and walkways before event day. Get all terms around power, water, access, and cleanup in writing.
If the site clears those checks, move straight into fees, permits, and insurance.
Review costs, permits, and insurance early
Don't wait until the last minute to look at costs.
Booth fees usually fall between $50 and $500 per slot, depending on the type of event. Some venues use revenue-share terms instead of a flat fee, which can work well or eat into margins fast. Read those terms closely before you sign anything.
Most pop-ups also need a few standard approvals:
- A business license
- A seller's permit for sales tax
- A Temporary Food Establishment (TFE) permit
Business licenses often cost $50 to $300, mobile vendor permits can run $200 to $2,000, and TFE applications often come with firm deadlines.
Insurance is another early check, not a last-minute one. Most venues ask for $1 million in general liability coverage, and a 3-month policy usually costs $200 to $400.
Use this simple timeline to stay ahead of approvals:
- 30 days out: Apply for business licenses, health permits, and secure insurance.
- 7 days out: Confirm power and water logistics with the venue; finalize your menu.
2. Setup checklist: build a portable coffee bar
Once you've locked in the location, build the bar around speed, simple service, and the venue's limits. Power, water, and floor space should shape every part of the setup.
Keep the menu short and easy to execute
Keep the menu tight: 3 to 5 drinks is the sweet spot. A small lineup - like batch brew, cold brew, and one or two espresso drinks - helps people order faster and keeps the bar moving without a pileup.
Use one cup size for every drink. That makes inventory easier to manage, speeds up service, and cuts down on one of the most common mix-ups at the counter. Pre-dose coffee before the event so baristas aren't weighing beans during a rush.
If you're working a hot-weather event or expecting heavy volume, lean on cold brew. It's faster to pour and puts less strain on the equipment.
Once the menu is set, pack only what that menu calls for.
Pack gear, supplies, and backup items in labeled bins
Pack everything in labeled bins so setup doesn't turn into a scavenger hunt. Group items by purpose: brewing equipment, service supplies, and backups.
Your main kit should include:
- A portable espresso machine or batch brewer
- A compact grinder
- A scale
- A kettle
- Thermal carafes
- An inline water filter
Service supplies should cover one-size takeaway cups, hot sleeves, lids, napkins, and stirrers. For utilities, bring extension cords, surge protectors, fresh water containers, and gray-water buckets for drainage.
And yes, the backup bin matters. Bring backup internet access, extra extension cords, and enough cash to make change if card payments fail. A handheld POS system like Toast can process mobile payments and track inventory in real time.
After you've packed the kit, test the bar the same way it will run on event day.
Test bar layout and staff workflow before the event
Do a full mock setup at your roastery, similar to how Savor Coffee Roasters manages their cafe and roasting operations, before the event. Run the bar as if customers are already lined up. Map a one-way flow: order → grind → brew → handoff. Keep the machine, grinder, and milk within one reach zone. Put cups and lids right next to the machine. Set the POS so it faces the customer.
Plan for a 60–90 minute setup window and a 30–45 minute teardown window. During the mock run, track how many cups your team can turn out per hour at a steady pace. That number will tell you fast if the menu and staffing plan make sense before you're standing in front of a crowd.
Cross-train every team member on the equipment.
3. Collaboration checklist: work with hosts and local vendors
Good partnerships shape turnout, logistics, and the guest experience. And the terms need to match the bar’s actual limits on space, power, water, and service speed.
Put host responsibilities in writing
Before you lock in any venue, get the details in writing. Your agreement should spell out pricing, arrival and setup times, cancellation terms, quality standards, branding and marketing responsibilities, revenue split, and who handles power, water, waste removal, staffing, and cleanup.
Use this table as a starting point for the agreement:
| Responsibility | Host | Roaster |
|---|---|---|
| Floor space and queue space | ✓ | |
| Adequate power | ✓ | |
| Potable water & drainage | ✓ (confirm early) | Bring tanks if unavailable |
| General venue/event permits | ✓ | |
| Health dept. (TFE) & food handler permits | ✓ | |
| Crowd flow & security | ✓ | |
| Trained baristas & event lead | ✓ | |
| Venue social posts and signage | ✓ | |
| Brand-specific posts & email newsletters | ✓ | |
| Bins and waste disposal | ✓ | |
| Daily cleanup and coffee-ground composting | ✓ |
The split changes by venue type. Cafés usually bring the base setup. Breweries tend to handle crowd flow. Community events often put permits, tents, and security on the host.
Once that split is clear, carry the same agreement into promotion.
Set up cross-promotion with nearby vendors
After roles are set, use partners to help grow turnout.
Pick businesses that share part of your audience and fit your brand, like bakeries, bookstores, plant shops, breweries, and offices. Send logos and a one-line blurb 4–6 weeks before the event so partners can add you to their promo materials. A bundle or giveaway gives both sides a reason to talk about the event.
Use Small Coffee Roasters to find local collaboration opportunities
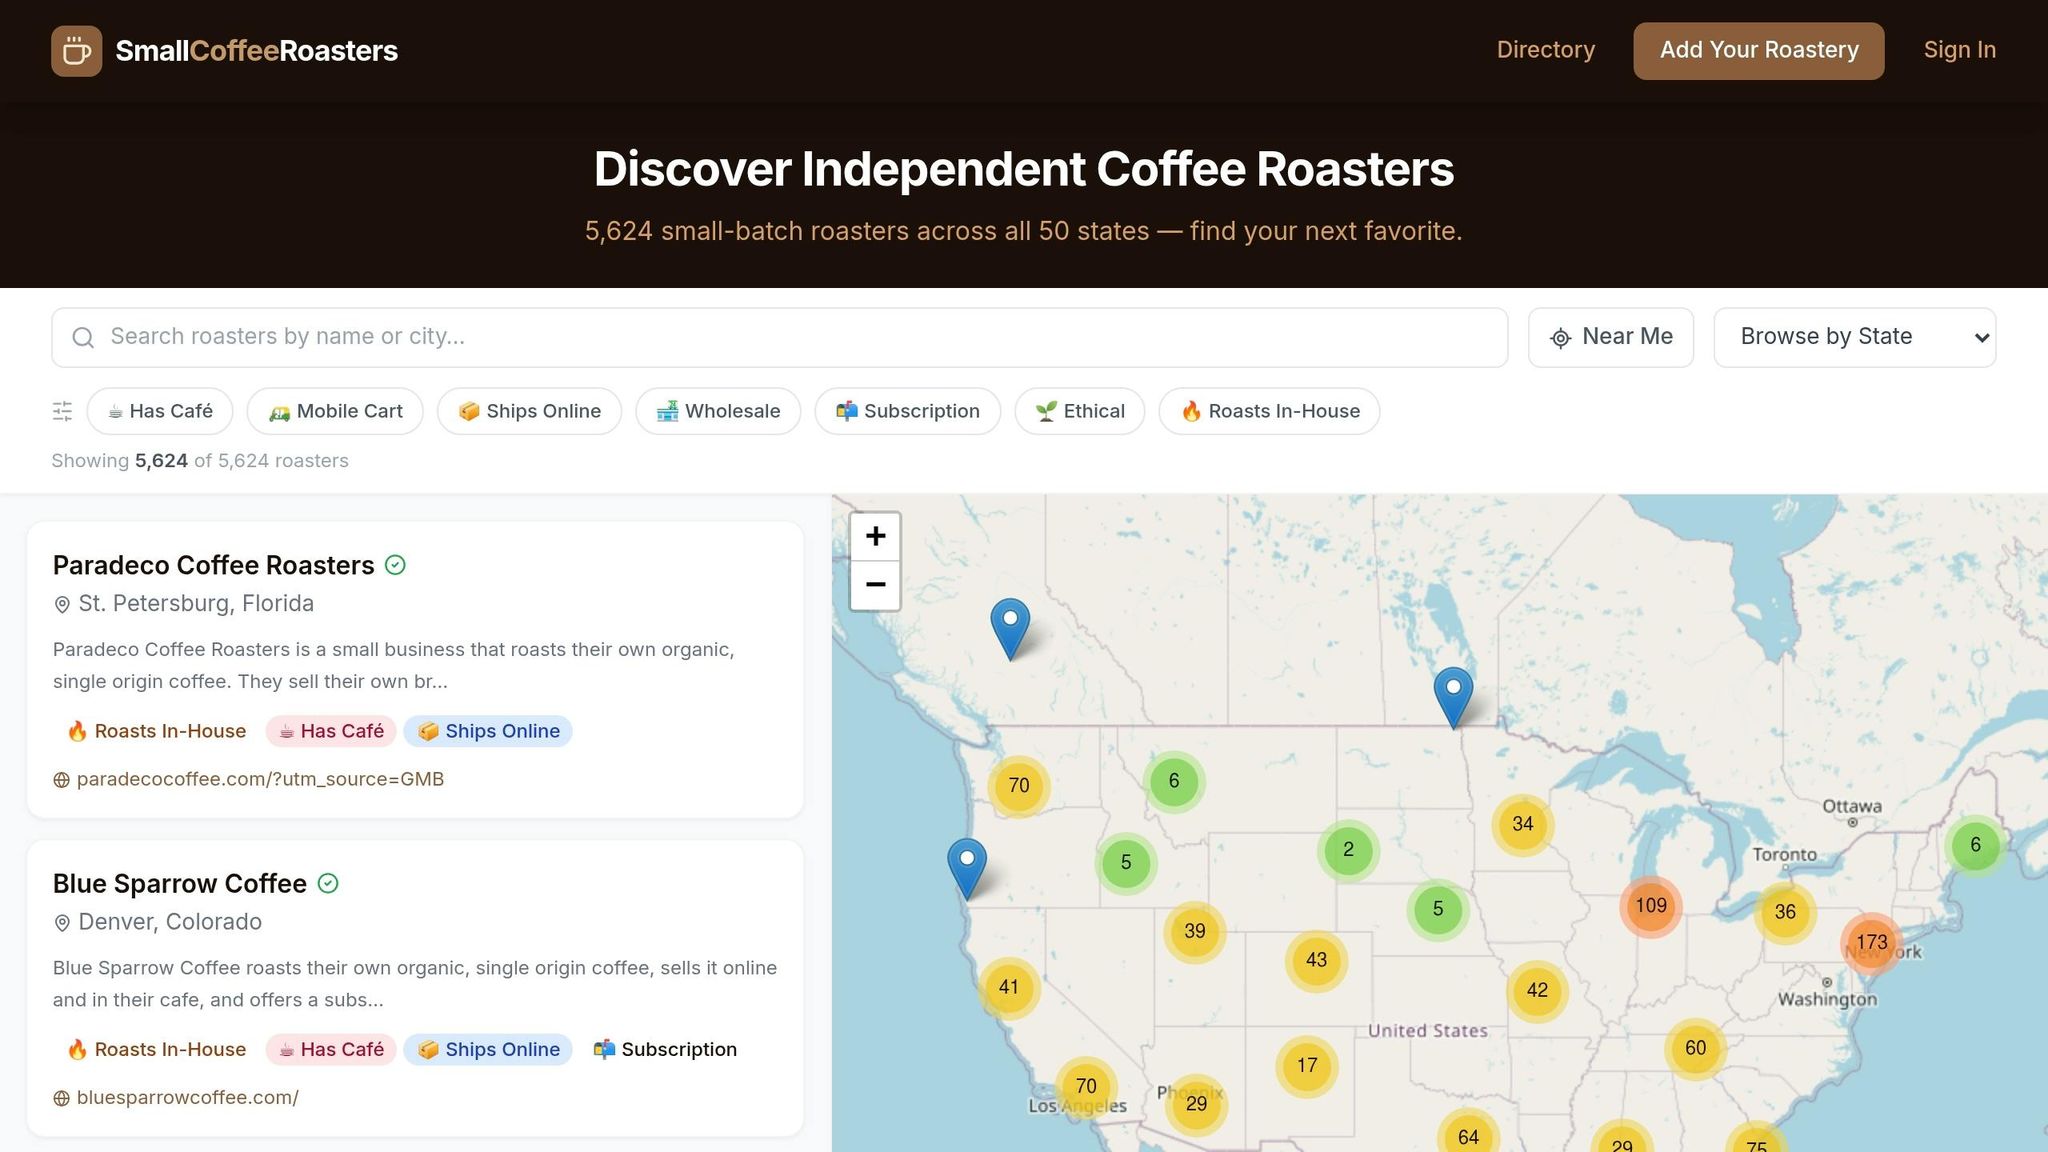
If you need a guest roaster or local partner, start by narrowing your search by city.
Use Small Coffee Roasters to find nearby roasters by city or state for guest slots or multi-roaster events.
4. Final event checklist: before, during, and after service
One week out and the day before
Once the site, menu, and partners are set, the last week is all about logistics. This is where small misses can turn into event-day headaches, so it pays to get specific.
One week before the event, confirm the guest count and load-in time with the host or independent coffee roasters acting as partners.
Put staff and volunteer roles in writing, schedule a training day, and recruit 20%–30% more volunteers than you think you'll need to cover no-shows. Order coffee beans and other consumables with a buffer. Also make sure your health department approvals, Temporary Food Establishment (TFE) license, and liability insurance are in place.
The day before, do a full equipment test. Pack labeled bins for gear, cleaning supplies, signage, and a manual backup brewer like a Chemex or AeroPress. Charge POS devices, double-check pricing, and print menus and permits.
Event day service and teardown
Event day is about three things: speed, accuracy, and a clean breakdown.
Arrive 60 to 120 minutes before service begins. Use the first 45 to 90 minutes for setup. Then use the last 15 minutes to dial in espresso and check boiler temperature before the first guest walks up.
For staffing, plan for 1–2 baristas per 100 guests during peak service. If you're serving more than 200 guests, bring in more staff or add a second station.
During service, track sales and inventory as you go. Restock early instead of waiting until you're almost out. Keep shared tools sanitized throughout the event.
Set aside 30–60 minutes for teardown. Empty waste tanks, compost grounds, repack labeled bins, and do one last walkthrough before you leave.
Conclusion: what makes a pop-up work
A pop-up tends to go well when the plan stays simple and intentional: set a clear goal, make sure the site can support service, keep the menu tight, and give the team enough time to set up, serve, and tear down without rushing.
After each event, document what went well and what didn't. Then update your checklist so the next run feels smoother than the last.
FAQs
How do I choose the best pop-up location?
Prioritize spots with heavy foot traffic, easy access, and a clear match for your target customers. Good picks include farmers markets, partner businesses like bookstores or boutiques, and event spaces where people can easily see and find you.
Before you commit, check the practical stuff. Confirm power, water, workspace limits, and permit rules. Find out if you’ll need a generator or extra water storage, too. It also helps to think about distance from your home base. A spot that looks good on paper can become a headache if the drive is too long. And get storage terms and usage hours in writing so there’s no confusion later.
What equipment should I bring to a coffee pop-up?
Bring equipment that matches your setup, whether you're working from a mobile cart, a fixed kiosk, or a simple brew station.
The core gear usually includes:
- Espresso machine and grinder
- Brewing tools, like pour-over drippers or batch brewers
- Power and water solutions, if needed, plus filtration
- Workflow tools such as tampers, scales, pitchers, knock boxes, and cleaning supplies
- A portable POS system and refrigeration
How many staff do I need for a pop-up?
It all comes down to your equipment and the way you serve.
A high-volume batch brew setup can be handled by one person and serve 150+ cups per hour. A manual espresso bar is different. It often needs more staff because the workflow takes more skill and more hands-on work.
No matter which setup you use, your team should feel at ease with the equipment before service starts. That means giving them time to practice in advance. It also helps to have staff who are friendly, know the menu, and care about the coffee they’re serving.